
Getting Started
This chapter walks you through logging in and finding your way around Inoscope for the first time.
Logging In
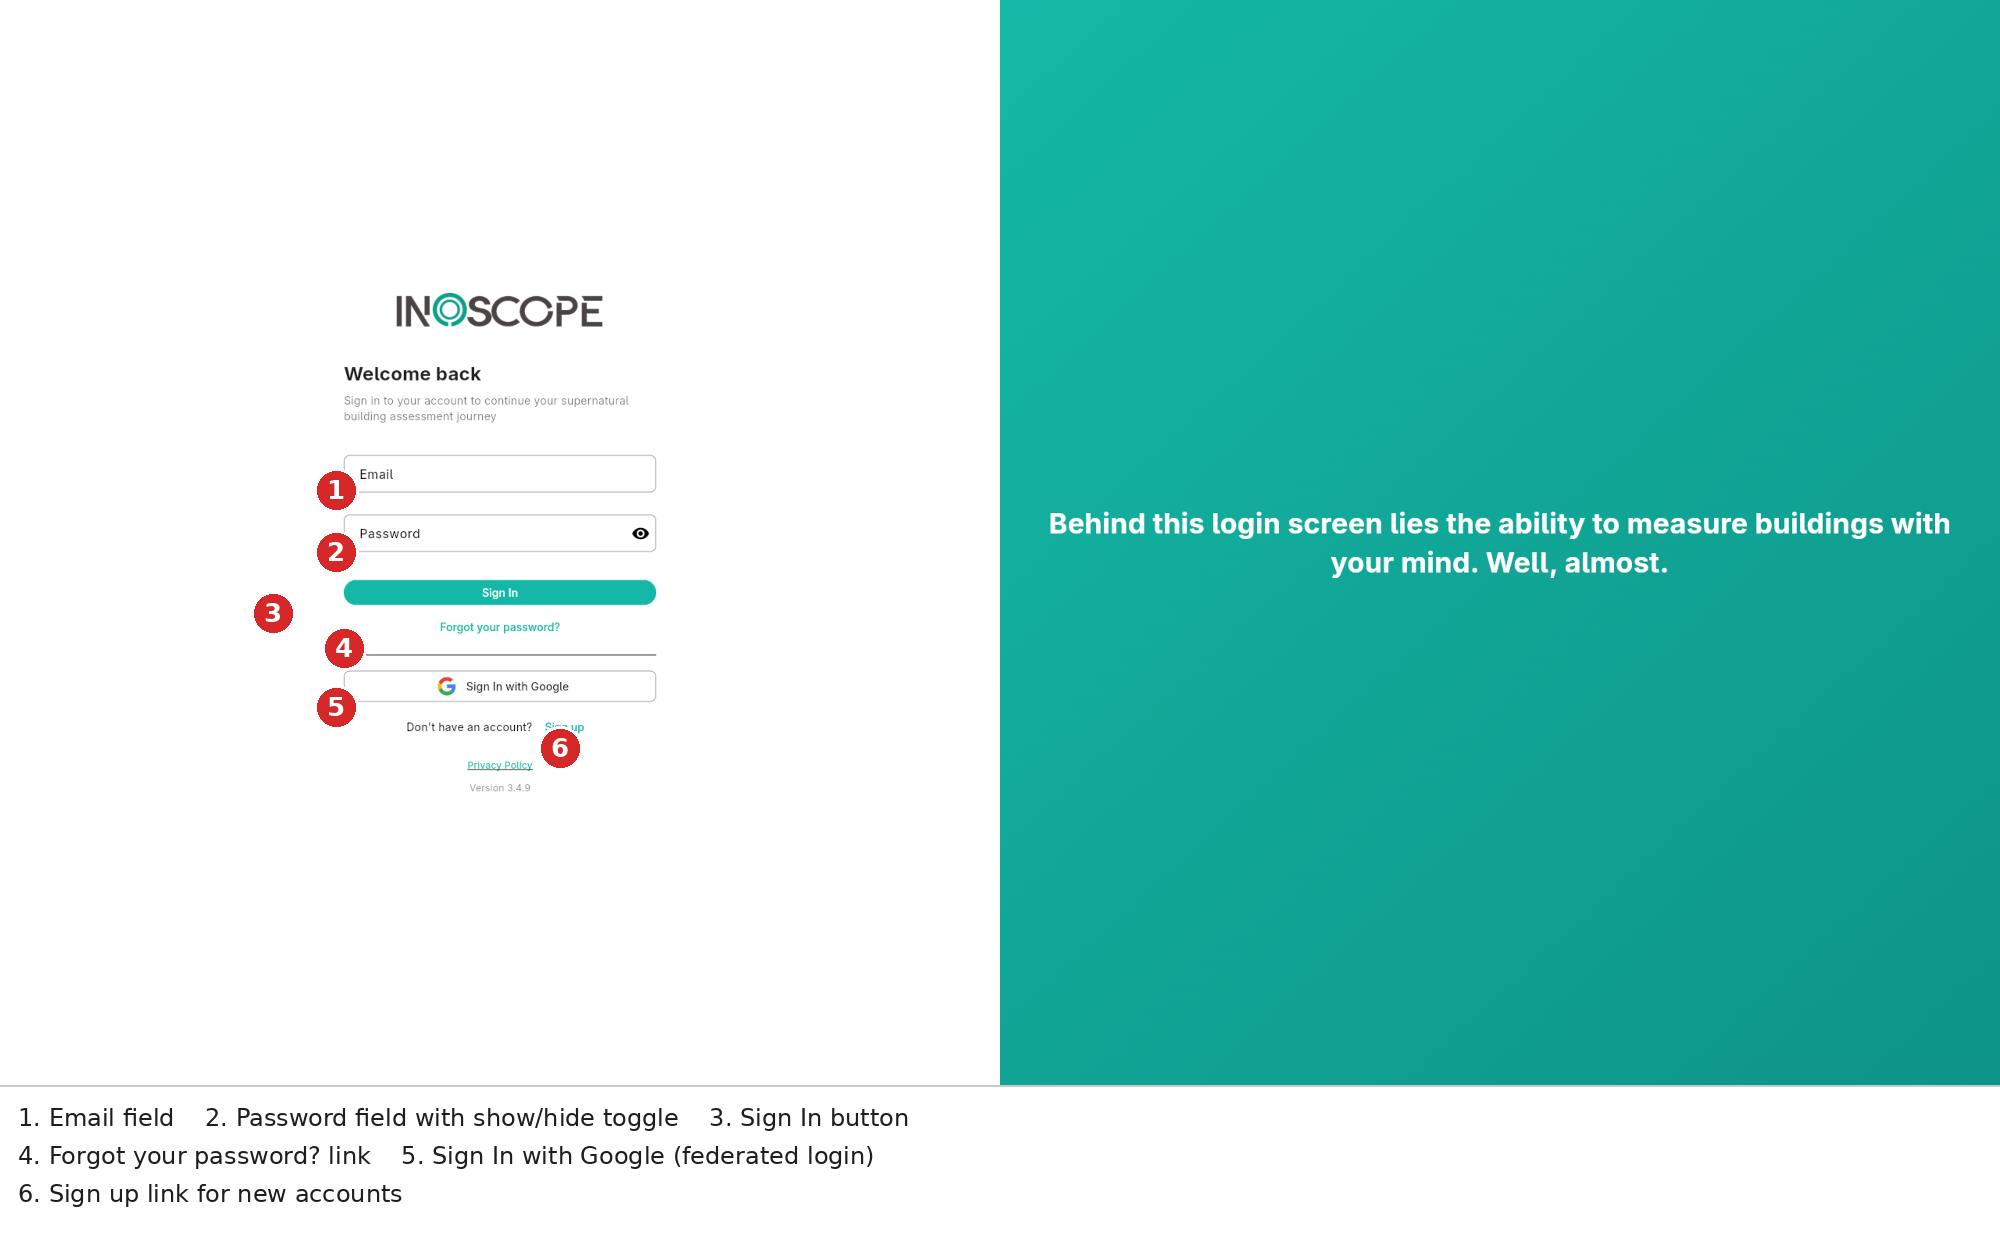
- Go to app.inoscope.com in your browser, or open the desktop / mobile app.
- Enter your details in the Email (1) and Password (2) fields — the eye icon toggles password visibility.
- Click Sign In (3), or use Sign In with Google (5) (or Apple on mobile) for federated accounts.
If you don't have an account yet, click Sign up (6) at the bottom of the form. Lost your password? The Forgot your password? link (4) is covered below.
Forgot Your Password?
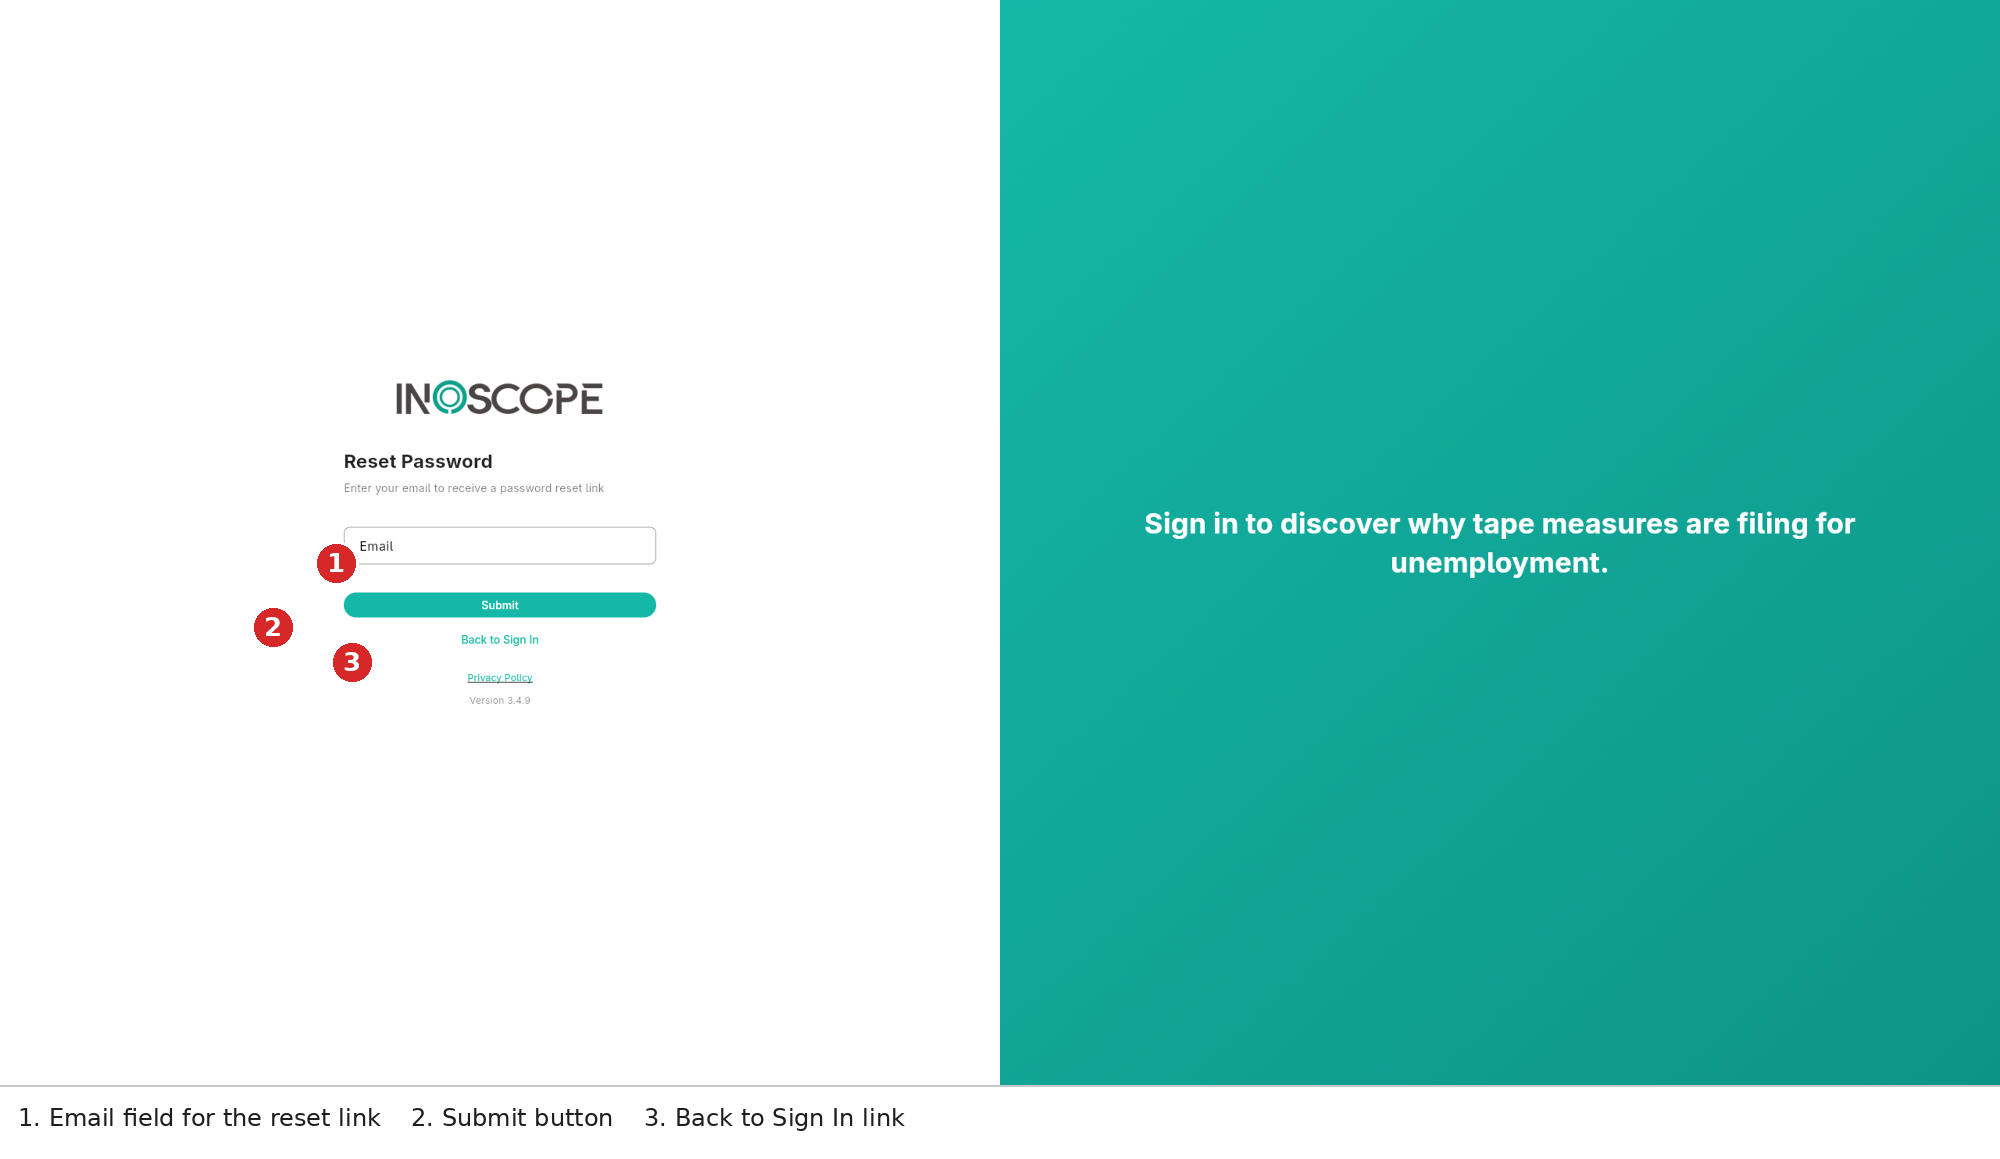
- Click Forgot your password? (4) on the login screen.
- Enter your email address (1) and click Submit (2).
- Check your inbox for a reset link and follow the instructions.
- Click Back to Sign In (3) to return to the login screen.
The Dashboard
After logging in you land on the Dashboard — your home screen.
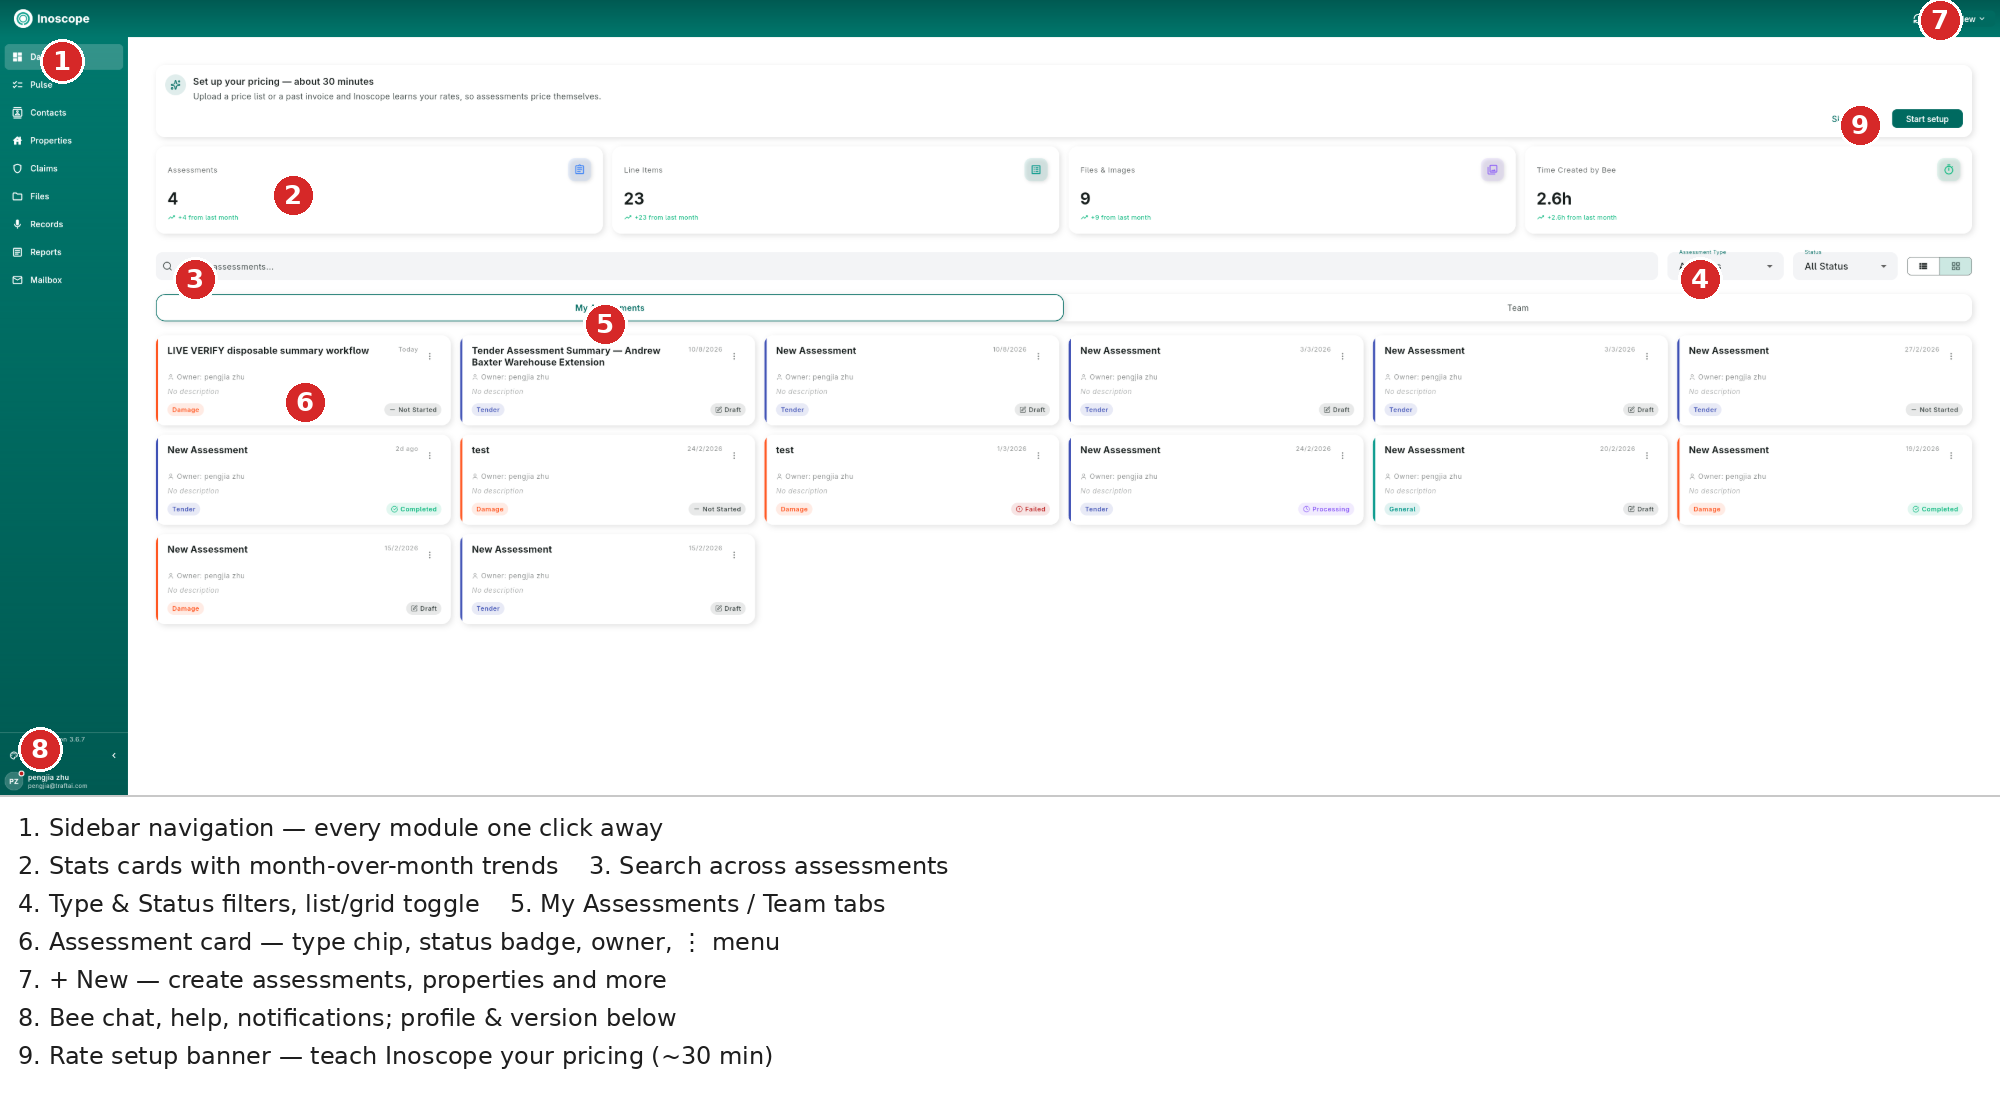
- Sidebar navigation — every module one click away (Dashboard, Pulse, Contacts, Properties, Claims, Files, Records, Reports, Mailbox).
- Stats cards — Assessments, Line Items, Files & Images and Time Created by Bee, each with the change vs last month.
- Search across all your assessments.
- Filters — Assessment Type and Status, plus list/grid view toggle.
- My Assessments / Team tabs — your own work vs work shared with you.
- Assessment cards — type chip, status badge, owner and the ⋮ actions menu.
- + New — create assessments or start a voice recording.
- Quick utilities — appearance, wiki and notifications; your profile and the app version sit below.
- Rate setup banner — a one-time ~30 minute calibration that teaches Inoscope your pricing.
See Dashboard for a full tour.
Navigating: The Sidebar
On desktop and wide screens Inoscope keeps a permanent sidebar on the left (since 3.6.2). It holds every module, the quick-utility row, and your account:
| Area | Contents |
|---|---|
| Modules | Dashboard, Pulse, Contacts, Properties, Claims, Files, Records, Reports, Mailbox |
| Quick utilities | Appearance (theme & colour), Wiki (this guide), Notifications |
| Account | Your avatar, name and email; opens Profile Settings, Settings and Sign Out |
| Version | The running app version, bottom-left |
On phones the sidebar collapses into a tabbed layout with a dedicated Chat tab for Bee.
Collapse it
The chevron at the bottom of the sidebar collapses it to an icon rail when you want more room for your work.
Make It Yours: Appearance
Click the Appearance icon (bottom-left) for the quick popover:
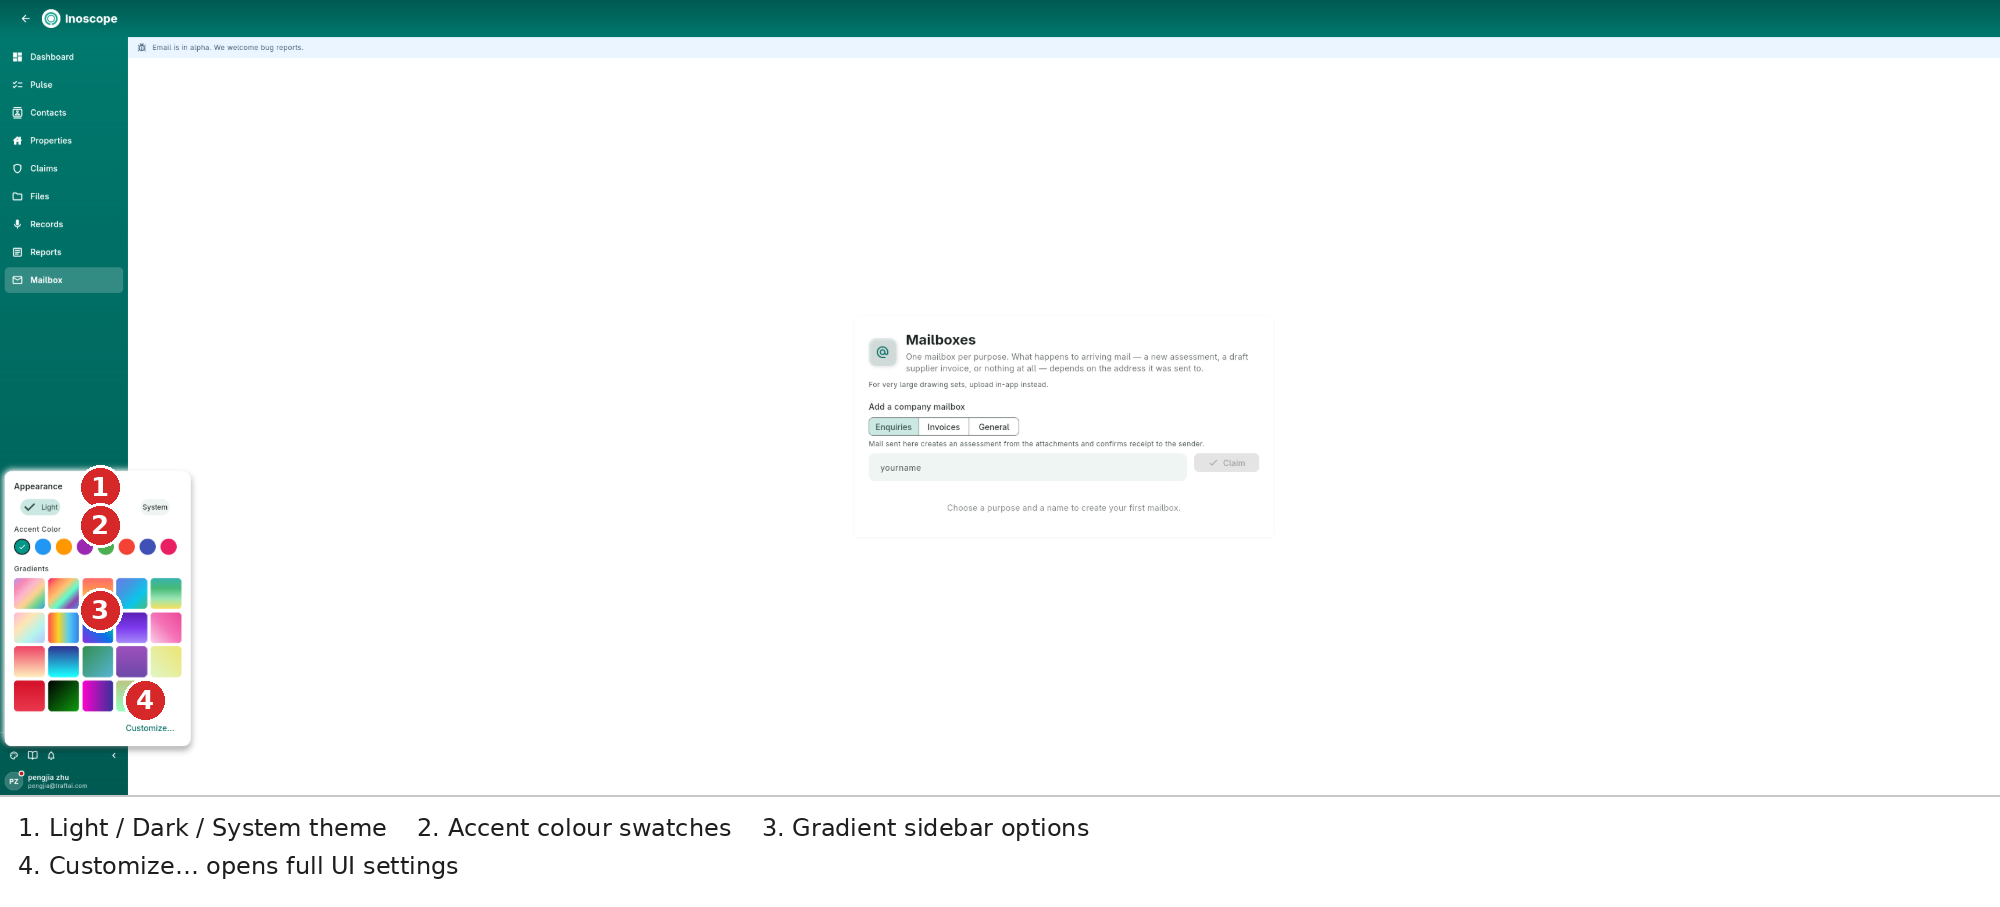
- Theme — Light, Dark, or follow the System.
- Accent colour — one-click swatches.
- Gradients — gradient sidebar treatments.
- Customize… — opens the full UI settings (styles Aurora / Crystal / Velvet, single colour vs gradient, custom accent picker).
Stay in the Loop: Notifications
Click the bell icon (bottom-left) to open the notification centre:
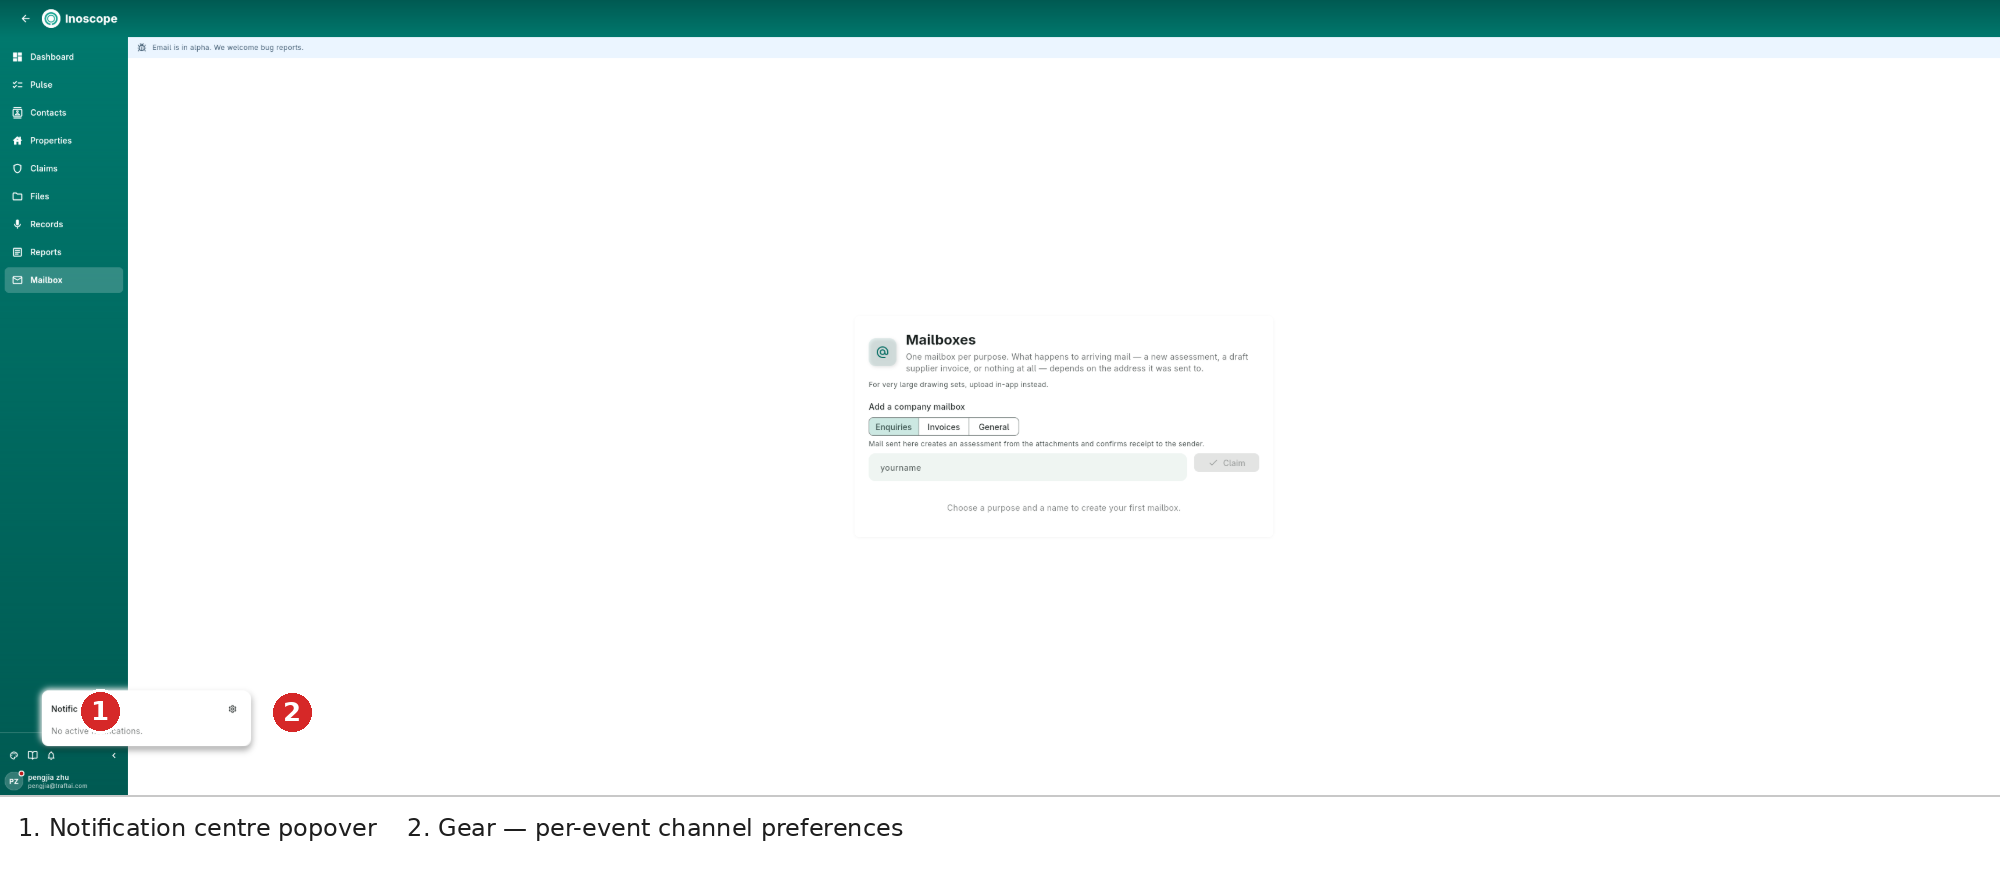
- Notification centre — in-app alerts even while you work elsewhere (assessment finished, Bee has a question, support ticket changes, email landed).
- Gear — opens Settings → Notifications, where you choose per event whether it reaches you In-app, as a Push notification, or by Email.
What's New Dialog
After an update you may see a What's New dialog highlighting the latest features (the same changelog that lives under Settings → About). Click Got it to dismiss it.
Where To Next?
| I want to… | Go to |
|---|---|
| Create my first assessment | Assessments |
| Talk to the AI agent | Inoscope Operator (Bee) |
| Price a tender | Tender Assessment |
| Document damage | Damage Assessment |
| Teach Inoscope my rates | Rate Calibration |
| Manage my company & team | Settings and Team Collaboration |