4. Image Management
Images are the foundation of every assessment. Inoscope provides tools for uploading, organizing, viewing, measuring, and annotating inspection photos.
Uploading Images
- Open an assessment and go to the Details tab.
- Click the Upload button in the image panel.
- Select one or more image files from your device.
- The Upload Progress Dialog shows real-time upload status for each file.
- Once uploaded, images appear in the grouped image panel on the left.
Supported Formats
- JPEG / JPG
- PNG
- HEIC (common on iPhones)
Batch Upload
You can select multiple images at once. The progress dialog tracks each upload individually so you can see which images are still processing.
Image Panel
The left panel of the assessment detail screen shows all uploaded images organized by location.
Grouping by Location
Images are automatically grouped into collapsible sections based on their location tag:
- Exterior — Outside the property
- Interior — Inside the property
- Document — From paper documents or files
- Digital — From digital sources
Changing an Image's Location
- Click on an image thumbnail.
- Open the Edit Location dialog.
- Select the new location group.
- The image moves to the appropriate section.
Image Viewer
Click any thumbnail to open the image in the main viewer (center panel). The viewer supports:
- Zoom — Scroll or pinch to zoom in and out
- Pan — Click and drag to move around a zoomed image
- Full-screen — Expand the image to fill the screen using the enlarge button
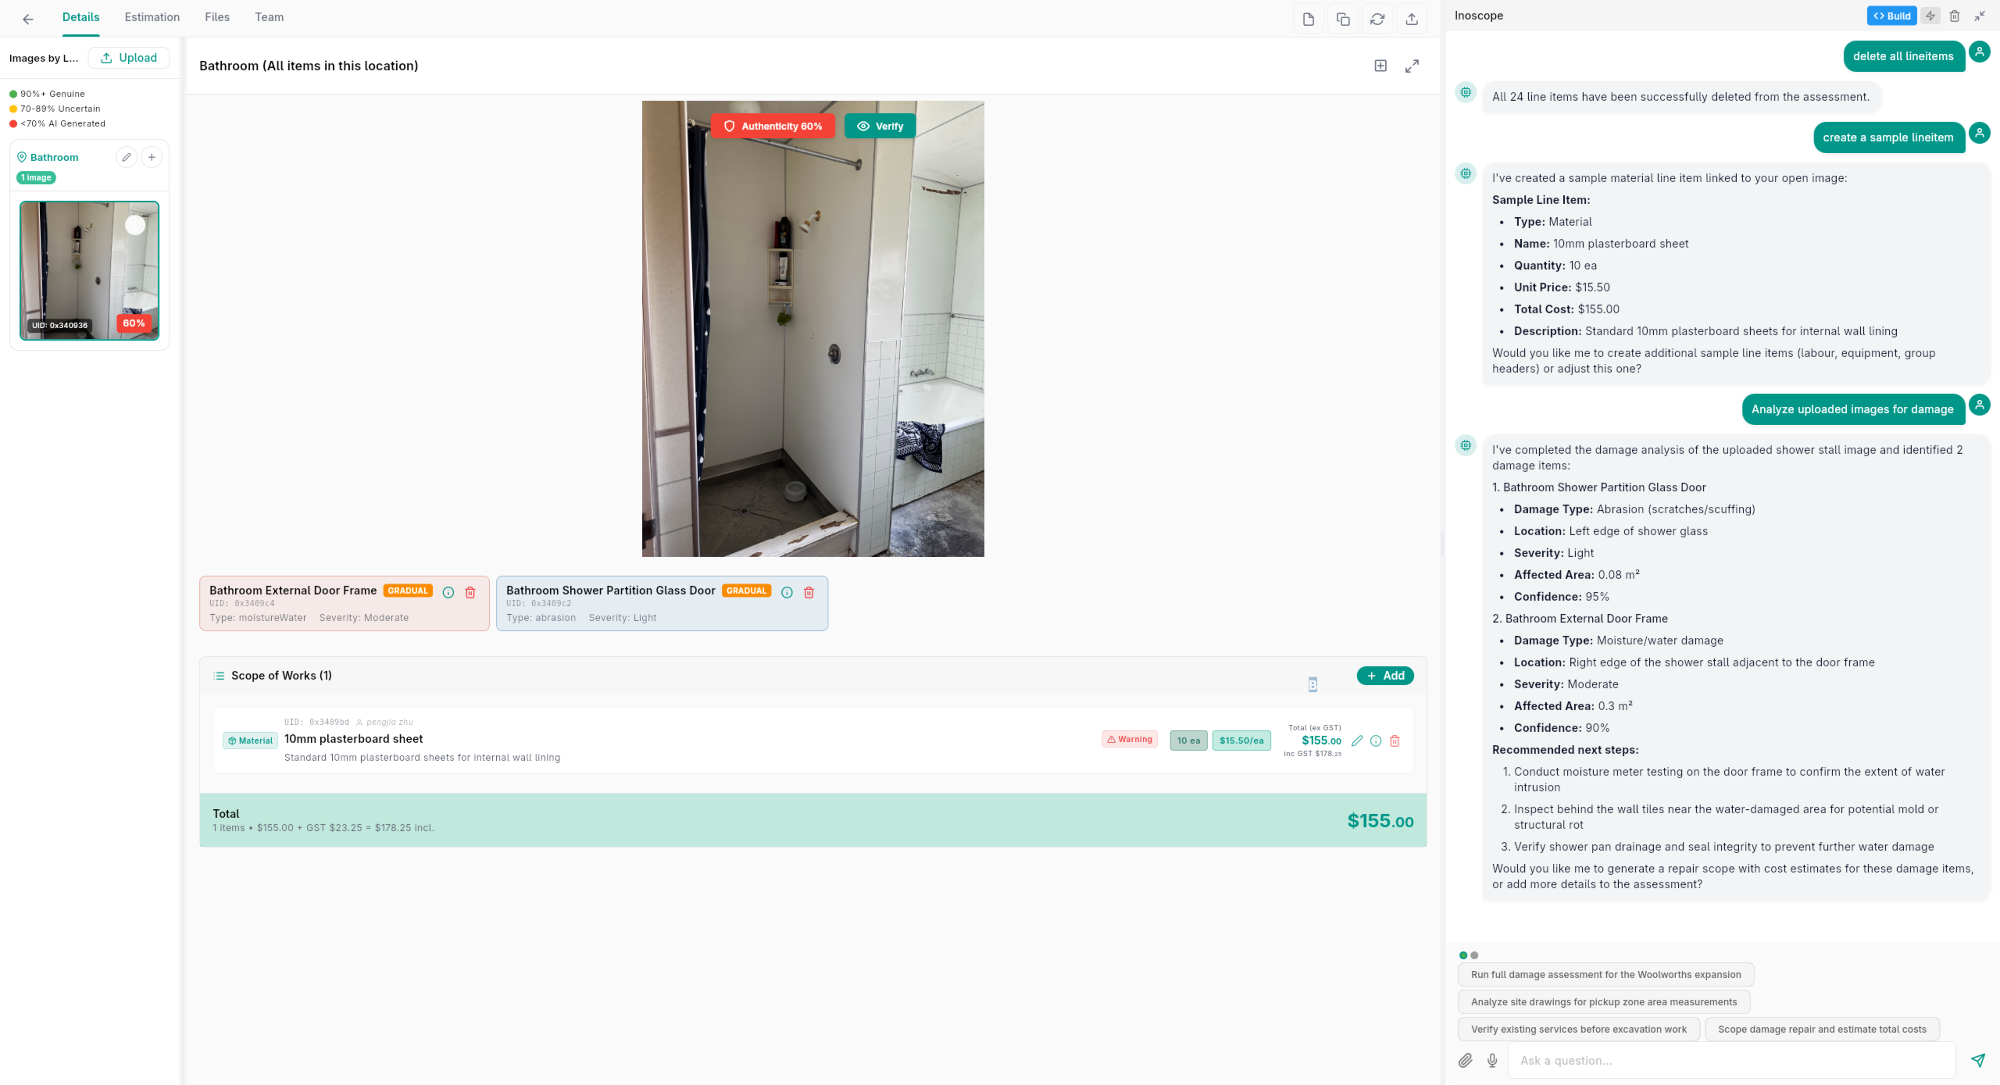
Damage Overlay
When AI damage detection has been run, the viewer shows bounding boxes overlaid on the image highlighting detected damage areas. Each box is color-coded by severity.
Image Metadata
Each image has metadata you can view and edit:
- Click the metadata icon on an image.
- The Edit Image Metadata Dialog shows:
| Field | Description |
|---|---|
| Location | Where in the property this image was taken (editable) |
| Upload Date | When the image was uploaded |
| Uploaded By | Who uploaded the image |
| Authenticity Score | AI-assessed image authenticity rating |
| Verification Status | Whether the image has been verified |
Image Authenticity
Inoscope analyzes image metadata to verify authenticity. This helps ensure photos are original and haven't been tampered with. The authenticity score is displayed as a percentage.
Measurement Tools
The image viewer includes measurement tools for annotating and measuring areas on photos.
Available Tools
| Tool | What It Does |
|---|---|
| Line | Draw a line to measure distances |
| Bounding Box | Draw a rectangle to measure areas |
| Scale | Set a reference scale for unit conversion |
How to Measure
- Open an image in the viewer.
- Select a measurement tool from the drawing toolbar.
- Click and drag on the image to draw your measurement.
- If you've set a scale reference, measurements display in real units (meters, centimeters).
Measurement Features
- Measurement history — All measurements are saved and visible on the image
- Clear measurements — Remove all annotations with the clear button
- Share with AI — Measurement annotations can be shared with the AI chat agent for analysis
- PDF measurements — Measurement tools also work on uploaded PDF documents
Scaling
To get accurate measurements:
- Select the Scale tool.
- Draw a line along a known distance in the photo (e.g., a ruler, door frame, or standard object).
- Enter the real-world length.
- All subsequent measurements will be calculated relative to this scale.